How To Tarp A Slate Roof

7 Steps To Temporarily Patch Your Roof With A Tarp Roof Emergency Roof Repair Roof Patch Roof Repair

Tarp A Roof Roof Repair Roofing Roof

How To Tarp A Roof 9 Steps With Pictures Wikihow Roof Tarps Hurricane Preparedness

A Step By Step Safety Guide On How To Cover A Leaky Roof With Tarp In 2020 Roof Repair Roof Leak Repair Leaking Roof

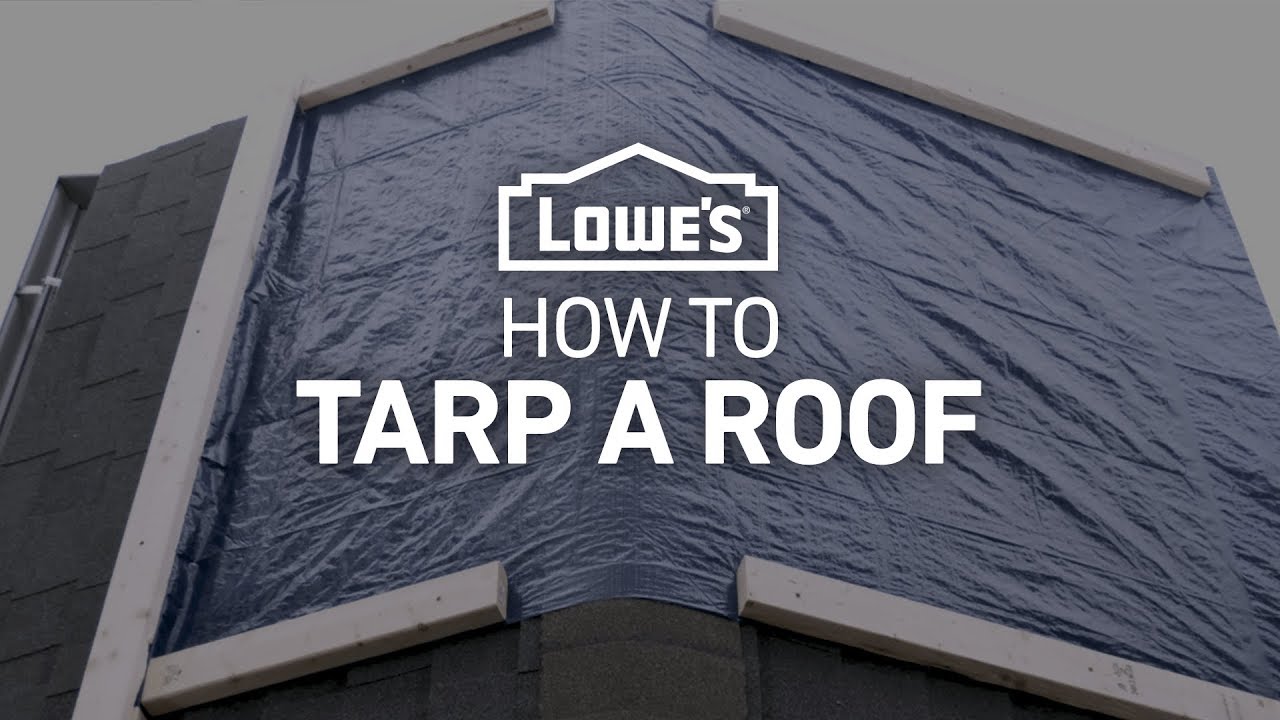
How To Tarp A Roof

10 Emergencies Every Homeowner Should Know How To Handle Roof Repair Leaky Roof Roof Leak Repair

Never lay the tarp out during a storm.
How to tarp a slate roof.
How To Tarp A Roof Severe Weather Guide Youtube

Understanding Roofing Replacement Project Want To Know More Click On The Image Roofer Roofing Roof Sealant Roofer

This Unique Roof Top Is Genuinely A Noteworthy Design Construct Rooftop In 2020 Fibreglass Roof Corrugated Roofing Roofing

How To Tarp A Roof The Home Depot
Source : pinterest.com
